

RECENTLY CHECKED
All projects →

Learn the skills.
Build something useful.

Start with one change. Progress to fitted parts, reliable data and responsive controls.

Choose a path →Have an idea? Find your starting point →
Practical
hands-on skills
Real components
and open sources
Go at your pace
Start at any stage
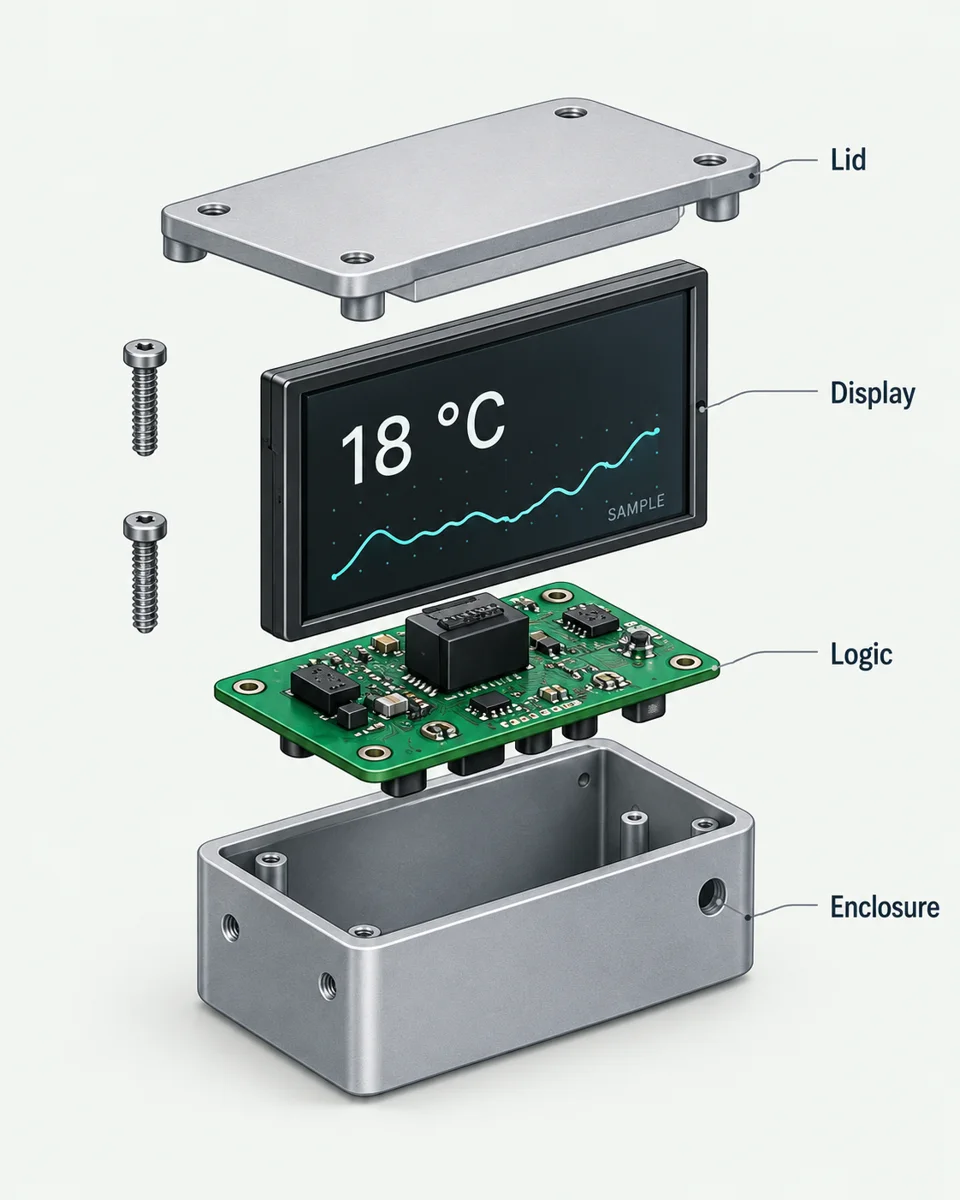
Exploded learning concept showing the enclosure, circuit board, display and lid
Learning concept · not a tested build

Choose an outcome. See the whole route.

Browser exercises + source-guided hardware handoff

What do I need, and where should I start?

Start at stage 1 if the area is new to you, or choose a later stage if you can already produce its earlier deliverables. The browser exercises let you practise without buying hardware or paying for an AI tool.

CAD downloads are OpenSCAD source models, not ready-to-print machine instructions. Inspect and export the model in compatible software, then prepare it for the intended process. Data and firmware exercises use controlled examples; they do not connect a live API or flash a board.

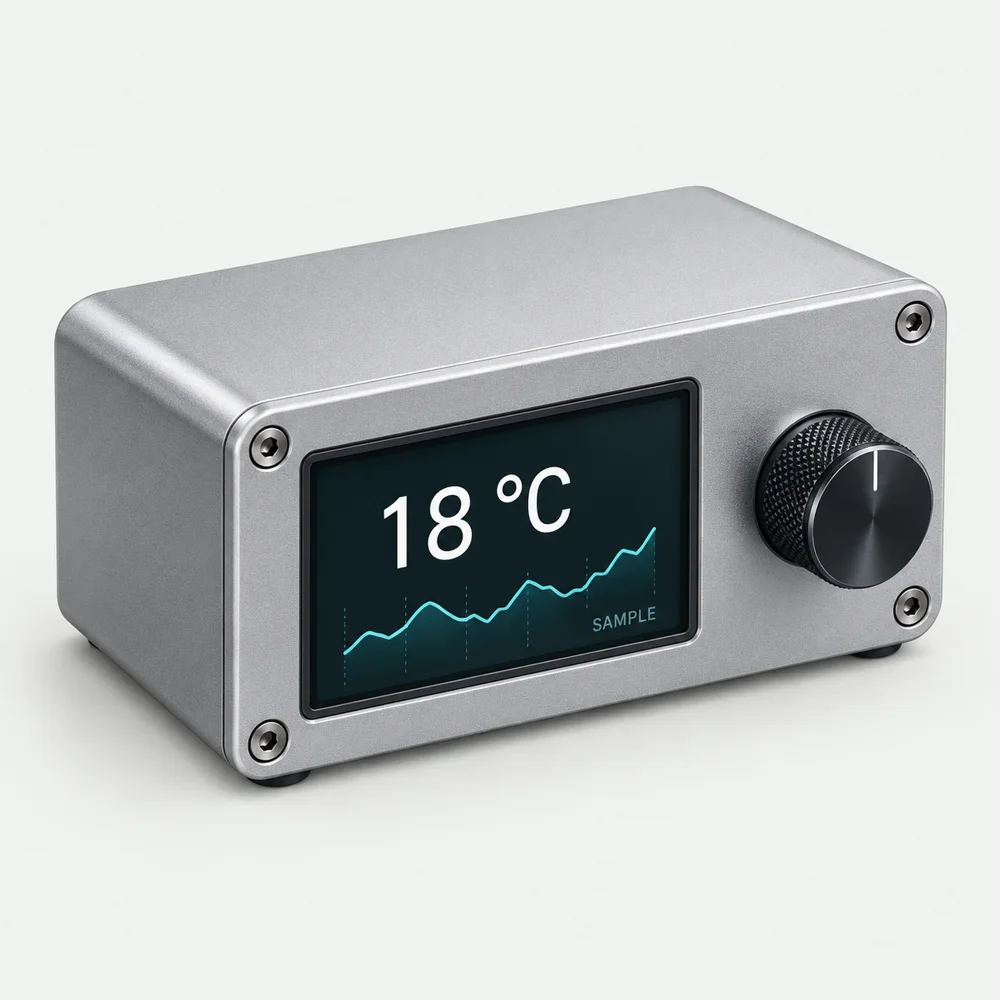
The last stage is a source-guided handoff. Read the linked project's exact hardware, software and build requirements before buying parts. The three paths develop related skills but are not a verified bill of materials for the illustrated desk display.

Record your starting point and next step →

CAD & Fabrication

FROM EXERCISE TO PROJECT
  1. 1

    Dimensions and parameters

    Create a parametric model sized to your needs.

    Deliverable: Parametric model (.scad)
  2. 2

    Holes and mounting geometry

    Add hole spacing and check edge clearances.

    Deliverable: Mounting plate model
  3. 3

    A fitted parts tray

    Allow for contents, walls and manufacturing fit.

    Deliverable: Tray + fit coupons
  4. 4

    Fit tests and project handoff

    Configure a real storage system and record the fit.

    Deliverable: Gridfinity configuration
Project handoff: Gridfinity Rebuilt →A measured Gridfinity configuration and fit record

Data & Display

FROM EXERCISE TO PROJECT
  1. 1

    Parse one reading

    Turn a sample reading into a useful display.

    Deliverable: Formatted reading
  2. 2

    Handle stale data

    Detect old data and show its real state.

    Deliverable: Freshness check
  3. 3

    Recover from request failures

    Handle failed requests without losing context.

    Deliverable: Resilient data adapter
  4. 4
Project handoff: Morning Thermal Printer →A morning receipt adapter and print specification

Firmware & Input

FROM EXERCISE TO PROJECT
  1. 1

    Read a timing change

    Understand how a timing change affects output.

    Deliverable: Timing change
  2. 2

    Run without blocking

    Keep input responsive while other work continues.

    Deliverable: Non-blocking loop
  3. 3

    Debounce an input

    Filter switch bounce into one reliable event.

    Deliverable: Debounced input
  4. 4

    Adapt a real controller

    Trace the SmartKnob source and plan a first change.

    Deliverable: SmartKnob source map
Project handoff: SmartKnob →A SmartKnob source map and bounded first change

Bring the three skills together.

A fitted part. Reliable information. Responsive control.

Combine what you learned in a build with a purpose. Use the source-guided handoffs, record your decisions and check the physical result.

Plan your build →
Assembled desk display and rotary control learning concept

Integration checklist

  • Parts fit your componentsMounting points, clearances and tolerances checked.
  • Data stays usefulHandles stale readings and request failures.
  • Input responds reliablyDebounced and non-blocking.
  • The physical build is checkedRecord what worked and what needs changing.
START WITH “I WISH…”

You bring the idea. Find a way to try it.

A useful idea does not need to start with a circuit diagram or a CAD file. Describe what you wish an object could do, then break it into a few smaller jobs.

Turn your idea into a first experiment →
  1. Imagine the useful result

    “A desk object that shows when I need to leave.” Who is it for, what does it notice and what should happen?

  2. Make the smallest convincing version

    Try sample travel data on a screen before building an enclosure. A sketch, cardboard model or simulated input can answer a real question.

  3. Add one capability at a time

    Connect a live source, add a physical control, then make it fit your space. Learn, borrow, adapt or ask for help at each step.

EXPAND WHAT YOU CAN BUILD

See where your next idea could lead.

Choose a question that interests you. Each brief shows the skills to build towards, a small experiment and a way to judge the result. Use the linked lessons if the starting point is new to you.

01Design a family of partsCan one design fit several real objects without editing every dimension by hand?

Starting pointStart when you can change a parametric model and measure a physical part.

Try itChoose three objects with different dimensions. Define the dimensions that change and the constraints that must stay fixed. Generate three variants, then make a small fit coupon before a full part.

Make something you can reviewA parameter table, three model variants and a measured fit record.

Judge the resultDoes each variant preserve wall thickness, clearances and mounting access? Record failed fits as well as successful ones.

Use the Gridfinity handoff →
02Build a useful signal, not another screenCould your object help someone decide what to do, rather than just show a number?

Starting pointStart when you can parse a reading and handle stale or failed data.

Try itCombine two relevant signals, such as a local reading and a forecast. Write a rule for what the display should show when they agree, disagree or become unavailable. Begin with saved responses.

Make something you can reviewA decision table, sample cases and an output prototype.

Judge the resultCan someone explain the display without you? Is uncertainty visible? Compare the rule with a simple single-source version.

Explore connected data →
03Turn a demo into a dependable deviceWhat happens after a restart, lost connection or unexpected input?

Starting pointStart when you understand non-blocking input and can trace the source of a controller.

Try itWrite down the device states and allowed transitions. Simulate a missing reading, repeated button presses and a restart before connecting moving parts. Give every state an observable result.

Make something you can reviewA state diagram, event log and recovery checklist.

Judge the resultDoes it recover to a known state without repeated unintended actions? Keep manual control available.

Trace a real controller →

Find new developments and people building things.

Explore these sources, then bring back an idea or a documented result. A source listing is not a CAIBI assessment of everything it publishes.

  • Hackster.io ↗Community projects

    Browse hardware projects, tutorials and maker demonstrations. Evidence and completeness vary by submission.

  • Find electronics, wearables and creative making guides. Useful foundations for an AI-assisted adaptation.

  • Printables ↗Physical design inspiration

    Find printable designs and maker reports. Check each model's licence, dimensions and evidence before adapting it.

Source links checked 16 September 2026.

Found a build, useful source or something we missed? Send it to CAIBI →

Illustrations show learning concepts. Exercises lead to source-based project handoffs; physical builds require their own checks.