RECENTLY CHECKED
All projects →
CAIBI ASSESSMENT

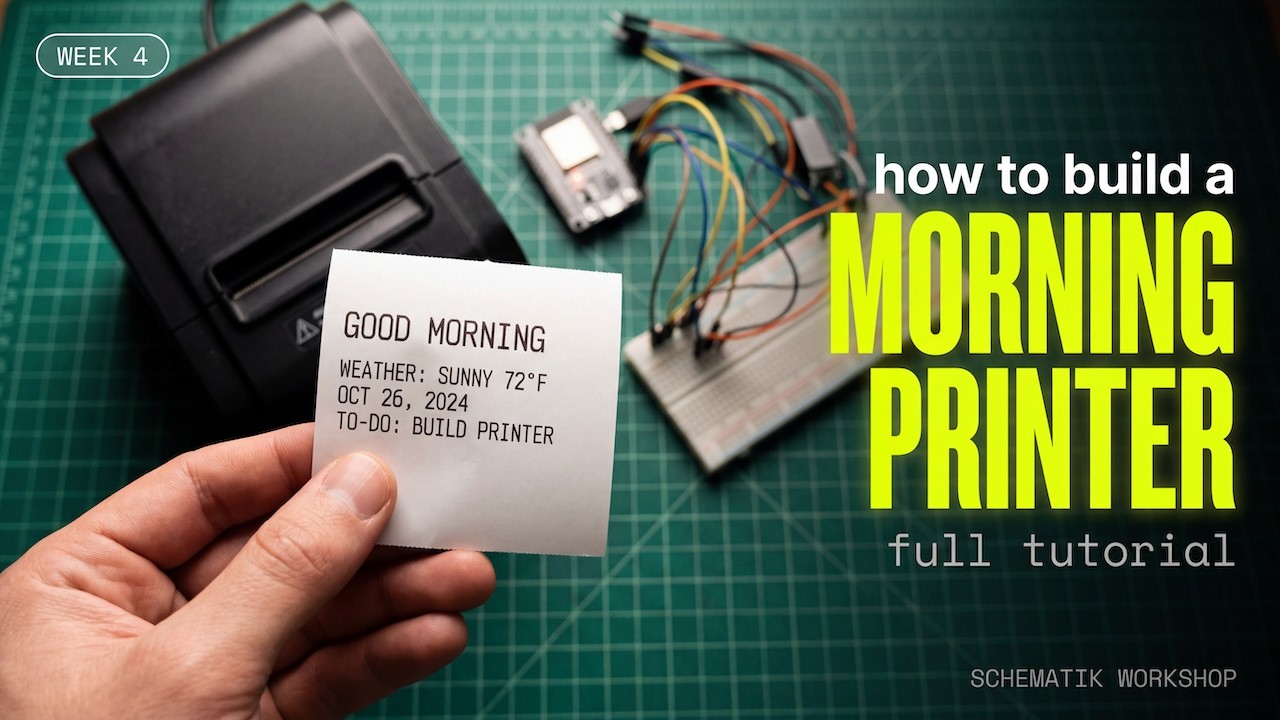
Morning Thermal Printer

CAIBI VERDICTBUILD IT

An ESP32 desk printer that turns weather and calendar data into a short physical morning briefing on receipt paper.

Build or buy?

Compare the documented build with the purchase reference.

Build it yourself

Known parts cost£60–£75Build total not establishedPrinter and electronics; enclosure extra
Time
45 minutes
Difficulty
2/5
Physical processes
ESP32 · APIs & data
See build requirements →

Purchase reference

Buy price referencePrice not checkedNo priced alternative recorded

Check the source for the exact model, availability and what is included.

Check comparison evidence →
Purchase comparison not yet priced
What the prices cover

Current UK thermal-printer pricing plus an ESP32, dedicated 5V supply, breadboard/wiring and starter paper.

Includes: CSN-A2 or compatible printer; ESP32 dev board; Dedicated 5V supply; Breadboard/jumpers; Starter thermal paper.

Not included: Enclosure; Shipping; Optional Google services.

Build evidence recorded 4 Sep 2026. Currency conversions are approximate.

The value is the custom daily physical briefing and its data integrations. Ordinary receipt printers are components rather than substitutes for the finished behaviour.

BUILD AT A GLANCE

Source view and main parts

Check the source ↗
PHYSICAL BUILD6 key parts or groups
No.Source specification
01ESP32-WROOM-32 development board
02CSN-A2 or compatible mini thermal receipt printer
03Breadboard and jumper wires
04Dedicated 5 V power supply for the printer
05USB power and data connection for ESP32 development
06Thermal receipt paper
Full source specifications
  1. ESP32-WROOM-32 development board
  2. CSN-A2 or compatible mini thermal receipt printer
  3. Breadboard and jumper wires
  4. Dedicated 5 V power supply for the printer, typically about 2 A
  5. USB power and data connection for ESP32 development
  6. Thermal receipt paper
TOOLS / PROCESSES2 involved
  • ESP32
  • APIs & data
The real-world workYOU STILL HAVE TOThe real-world work
  • Provide stable separate power for the thermal printer
  • Wire the printer and shared ground correctly
  • Judge whether the physical print layout is readable and useful
  • Turn the breadboard prototype into a tidy appliance
THE BUILD SEQUENCE

How it comes together

1Preparation

  1. Wire the printer data connection

    Connect printer TTL RX to ESP32 GPIO4 for UART2 TX and share ground between the ESP32 and printer supplies. Optional printer TX can be connected carefully for status feedback.

    YOU
  2. Power the printer separately

    Use the dedicated 5 V supply for the printer head. The source explicitly warns against powering the printer from the ESP32 regulator because print-current spikes cause brownouts.

    YOU

2Build and assembly

  1. Configure network and data sources

    Set Wi-Fi, time-zone details and any calendar credentials. Open-Meteo can provide weather without an API key.

    AI + YOU
  2. Build the daily brief

    Use the starter firmware to combine date, weather, appointments and to-do space. AI can help change the data sources, formatting, logic and error handling.

    AI

3Configure and test

  1. Print and verify

    Run the physical printer repeatedly and check power stability, line wrapping, character support and whether the paper output is actually useful at a glance.

    YOU
  2. Turn the prototype into an appliance

    Add an enclosure, scheduled wake behaviour, better cable management or other data sources once the breadboard version is dependable.

    AI + YOU

Benchmark this project

Use the Morning Thermal Printer prompt. Compare what different models deliver, then add what happened when you tried it.

Try this benchmark
View the project prompt

CAIBI adaptation · Prompt 1.0 · Project source

Open and copy prompt →

Benchmark results 0

No reviewed results yet for Morning Thermal Printer. Add the first result →

AI IN THIS PROJECT

Get AI help on this build

CAIBI · AI CAN HELP

AI can help with

  • API integration
  • Formatting
  • Calendar logic
  • Firmware changes
  • Debugging
CAIBI · AI CAN'T DO

You still need to

  • Provide stable separate power for the thermal printer
  • Wire the printer and shared ground correctly
  • Judge whether the physical print layout is readable and useful
  • Turn the breadboard prototype into a tidy appliance
Original source AI use and prompts
SOURCEOriginal project AI use

The creator describes the Schematik workflow as describing the desired object, checking the generated wiring, deploying in the browser and using Serial Monitor feedback to steer fixes. The published article does not expose the exact initial natural-language prompt.

See it in the source ↗

CAIBI should preserve this as documented AI-assisted development, but must not invent an exact prompt that the source does not publish.

CAIBI STARTING PROMPTS

Copy a prompt for this build

Each prompt tells AI to keep the original project source as the reference and to flag anything you must verify on the real build.

Ways to take it further
AFTER THE FIRST BUILD

Ways to take it further

Task list integrationSports fixtures or scoresTravel and commute dataBitmap logosScheduled automatic printingCustom enclosure
More routes and resources
OTHER WAYS TO GET THERE

You do not have to follow one route.

REVIEWED RESOURCES

Useful places beyond the main source

SOURCE · CAIBI · BUILDERS

What supports the verdict

SOURCESchematik

Schematik workshop build published May 2026 with linked build guide and documented firmware behaviour

Open source ↗
CAIBIBUILD IT

It is a clean example of software and public data becoming a physical ritual object. The hardware is modest, while the useful customisation lives in what the device fetches and prints.

Evidence: Strong

Leave a build review
HAVE YOU MADE THIS?

Leave a build review.

First-hand evidence improves the assessment
What we want to know

What happened when you actually tried to make it.

  • Did it work?
  • Actual time and cost
  • What did you change?
  • What was harder than the source suggested?
  • Would you build it again?