RECENTLY CHECKED
All projects →
CAIBI ASSESSMENT

VerhoBot

CAIBI VERDICTWORTH CONSIDERING

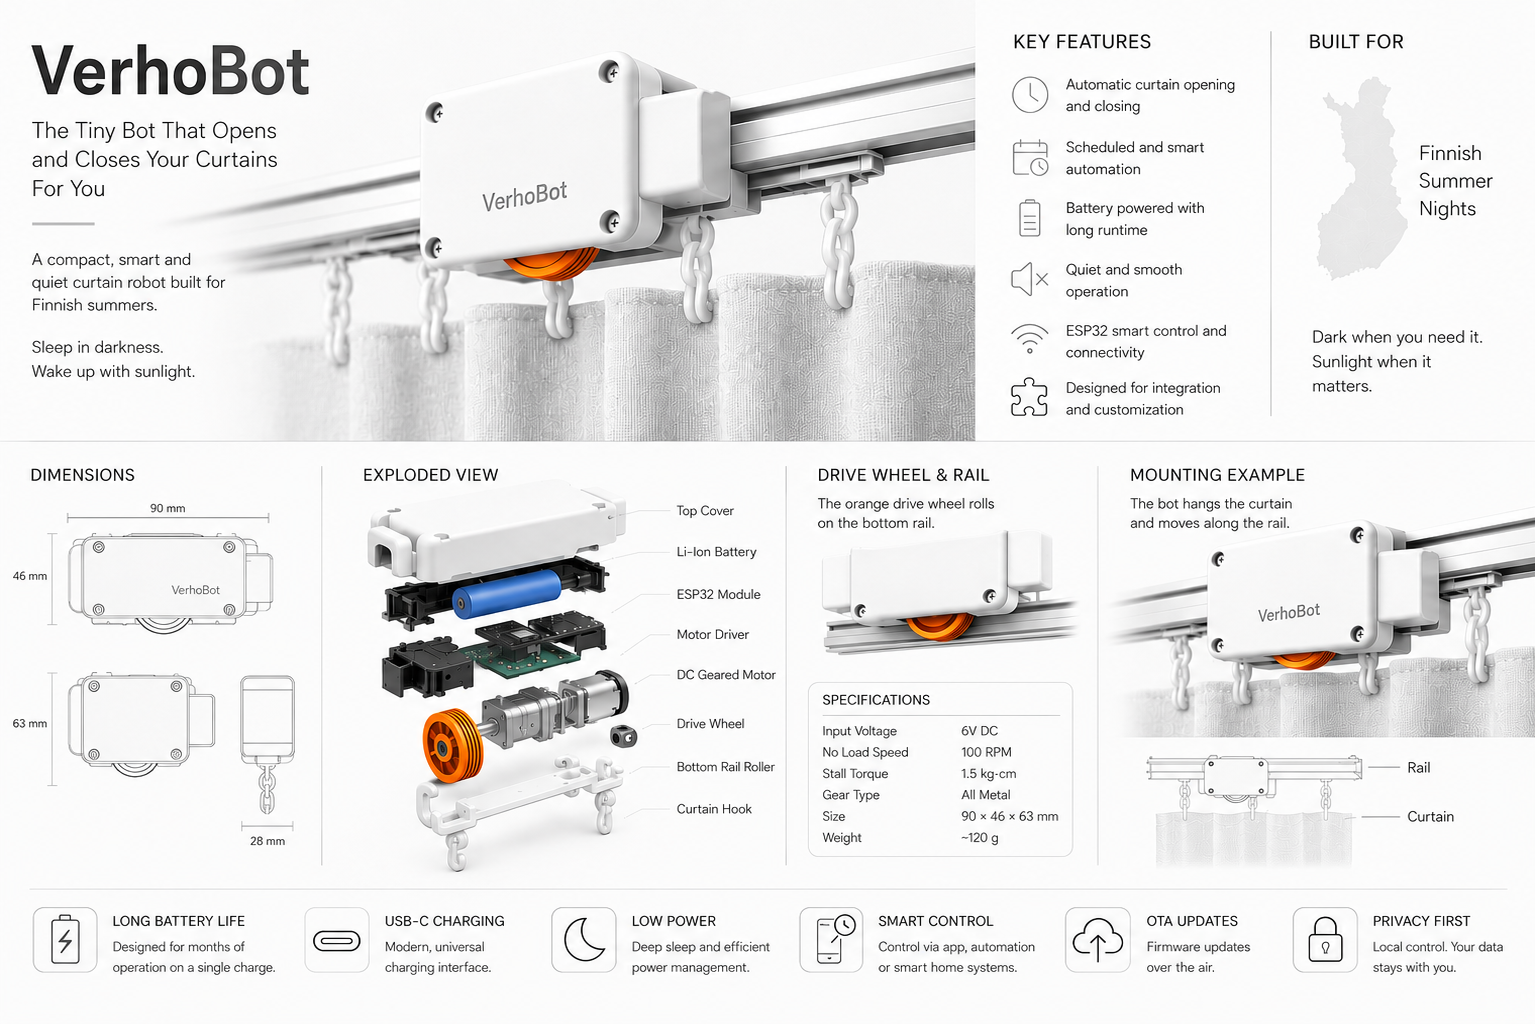
A compact ESP32 curtain robot built to automate an existing curtain rail without ropes or pulleys.

Build or buy?

Compare the documented build with the purchase reference.

Build it yourself

Build estimate£30–£45CAIBI estimate · medium confidenceOne curtain robot; published parts route
Time
Not published
Difficulty
3/5
Physical processes
3D printer · ESP32
See build requirements →

Purchase reference

Buy price reference£99.99SwitchBot Curtain 3, 1-packRecorded 5 Sep 2026

Check the source for the exact model, availability and what is included.

Check comparison evidence →
Build estimate is lower
What the prices cover

Allowance for the published ESP32-C3, geared motor, motor driver, battery/charging hardware, printed parts and small fixings.

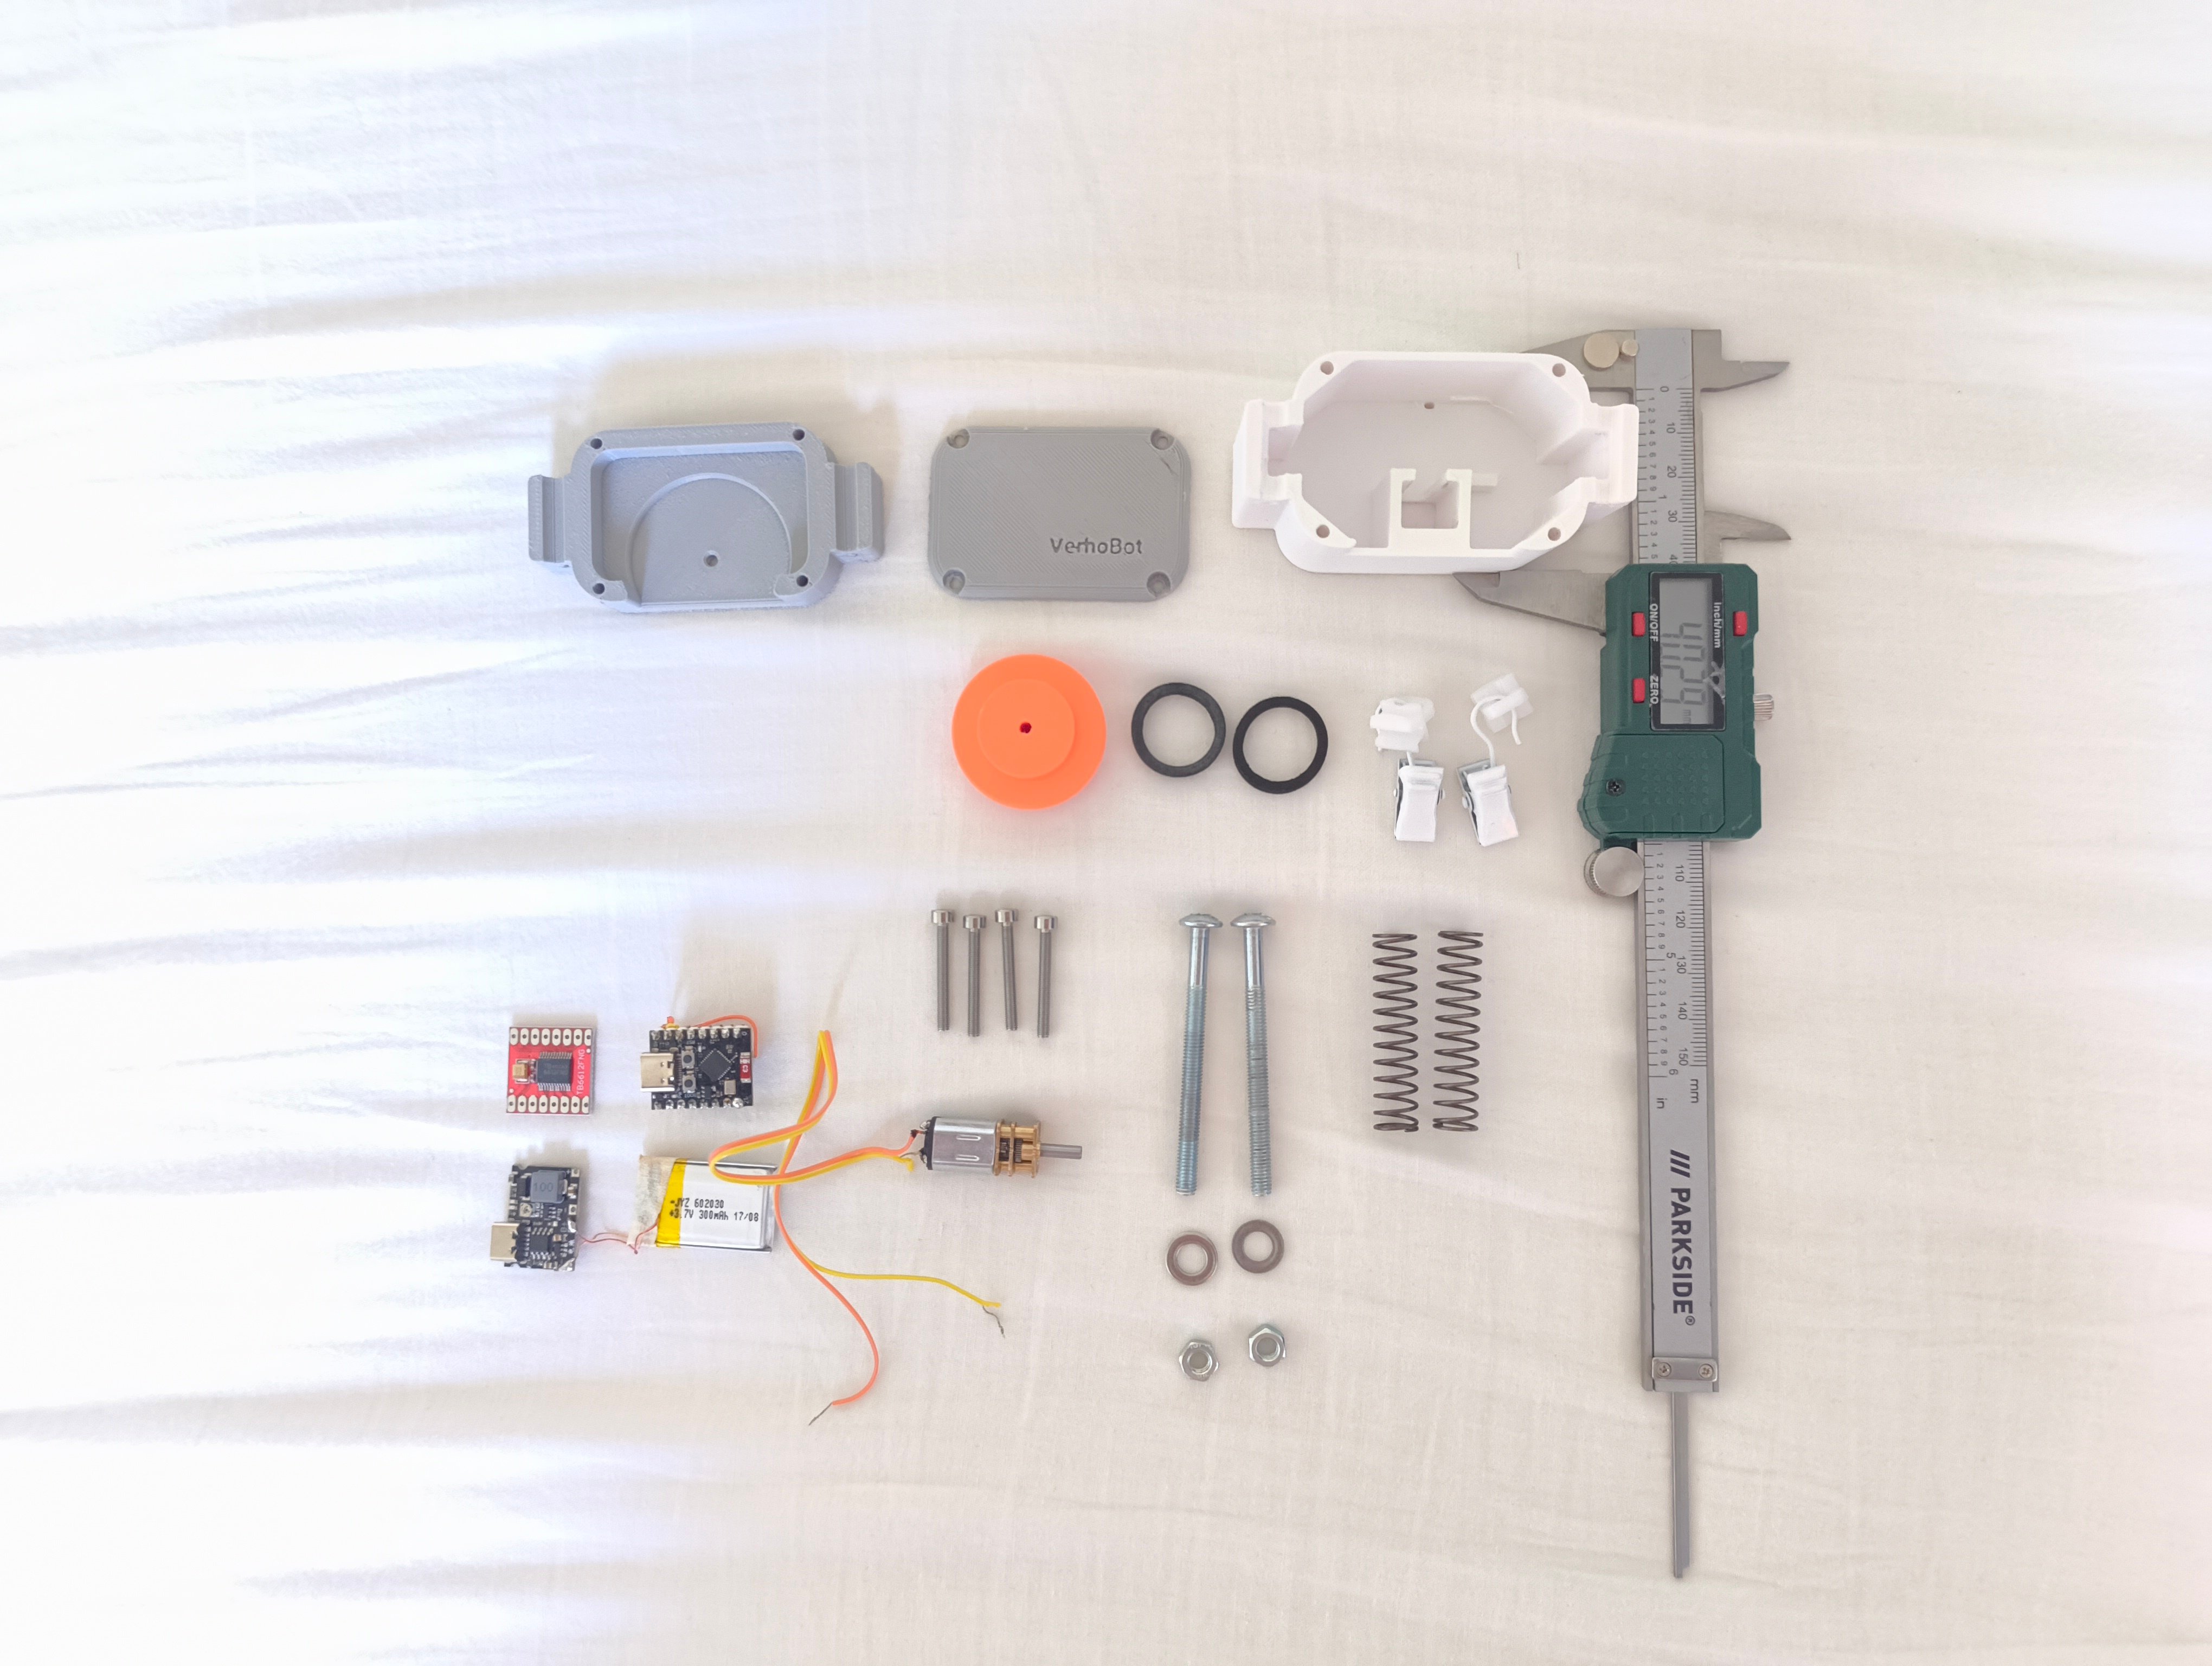
Includes: ESP32-C3; N20 geared motor; TB6612FNG driver; Small Li-ion battery/charging route; Printed chassis and fixings.

Not included: 3D printer ownership; Curtain/rail changes; Shipping.

Build evidence recorded 4 Sep 2026. Currency conversions are approximate.

SwitchBot Curtain 3 is a close functional comparison for automating an existing curtain. The saving is cash only and does not include printing, assembly or the risk that a particular rail needs iteration.

UK purchase/source reference ↗US purchase/source reference ↗
BUILD AT A GLANCE

Source view and main parts

Check the source ↗
VerhoBotVerhoBot · migit ↗
PHYSICAL BUILD6 key parts or groups
No.Source specification
01ESP32-C3 Super Mini
02N20 geared DC motor
03TB6612FNG motor driver
043.7V 300mAh Li-ion or LiPo battery in the current build
05USB-C charging hardware
063D printed rail-mounted enclosure and mechanical parts

Full source specifications
  1. ESP32-C3 Super Mini
  2. N20 geared DC motor, with 100 RPM 6V recommended by the creator
  3. TB6612FNG motor driver
  4. 3.7V 300mAh Li-ion or LiPo battery in the current build
  5. USB-C charging hardware
  6. 3D printed rail-mounted enclosure and mechanical parts
TOOLS / PROCESSES2 involved
  • 3D printer
  • ESP32
The real-world workYOU STILL HAVE TOThe real-world work
  • Check the real curtain load, rail geometry and available clearance
  • Assemble the motor, battery and drive hardware
  • Mount the mechanism so it grips and travels reliably
  • Calibrate open and closed positions on the actual curtain
  • Prove battery life and unattended operation over repeated cycles
THE BUILD SEQUENCE

How it comes together

1Preparation

  1. Check the curtain and rail

    Confirm the rail geometry, curtain load and available clearance before printing or buying parts. The mechanism has to grip and move the real curtain reliably.

    YOU
  2. Build the electronics

    Assemble the ESP32-C3, motor driver, geared motor, battery and charging hardware using the published design.

    YOU

2Build and assembly

  1. Print and assemble the mechanism

    Produce the published enclosure and mechanical parts, then mount the drive system around the selected rail setup.

    YOU
  2. Flash and configure

    Install the firmware, join the setup access point, configure Wi-Fi and schedules, and verify the dashboard. AI can help with firmware changes and diagnostics.

    AI + YOU

3Configure and test

  1. Calibrate on the actual curtain

    Run the curtain fully open and closed and set the tracked positions in the dashboard. The current V1 position model is time based, so drift is a real installation concern.

    YOU
  2. Prove unattended operation

    Watch scheduled moves, battery life and wake behaviour over several days before relying on it as an unattended home automation device.

    YOU

Benchmark this project

Use the VerhoBot prompt. Compare what different models deliver, then add what happened when you tried it.

Try this benchmark
View the project prompt

CAIBI adaptation · Prompt 1.0 · Project source

Open and copy prompt →

Benchmark results 0

No reviewed results yet for VerhoBot. Add the first result →

AI IN THIS PROJECT

Get AI help on this build

CAIBI · AI CAN HELP

AI can help with

  • Firmware changes
  • Scheduling logic
  • Home automation integration
CAIBI · AI CAN'T DO

You still need to

  • Check the real curtain load, rail geometry and available clearance
  • Assemble the motor, battery and drive hardware
  • Mount the mechanism so it grips and travels reliably
  • Calibrate open and closed positions on the actual curtain
  • Prove battery life and unattended operation over repeated cycles
Original source AI use and prompts
SOURCEThe original project does not publish an AI prompt

The prompts below are CAIBI helpers for this build. They are not presented as instructions from the creator.

CAIBI STARTING PROMPTS

Copy a prompt for this build

Each prompt tells AI to keep the original project source as the reference and to flag anything you must verify on the real build.

Ways to take it further
AFTER THE FIRST BUILD

Ways to take it further

Sunrise and sunset controlHome Assistant integrationPosition sensorsMotor current monitoringObstacle or endstop detectionAlternative battery and enclosure sizes
More routes and resources
OTHER WAYS TO GET THERE

You do not have to follow one route.

REVIEWED RESOURCES

Useful places beyond the main source

SOURCE · CAIBI · BUILDERS

What supports the verdict

SOURCEmigit

V1 source available and described as stable, with V2 still evolving

Open source ↗
CAIBIWORTH CONSIDERING

It retrofits automation to an ordinary curtain rail and keeps the hardware and firmware open to modification.

Evidence: Moderate

Leave a build review
HAVE YOU MADE THIS?

Leave a build review.

First-hand evidence improves the assessment
What we want to know

What happened when you actually tried to make it.

  • Did it work?
  • Actual time and cost
  • What did you change?
  • What was harder than the source suggested?
  • Would you build it again?