Useful work to hand to AI
- Firmware changes
- UI changes
- Debugging

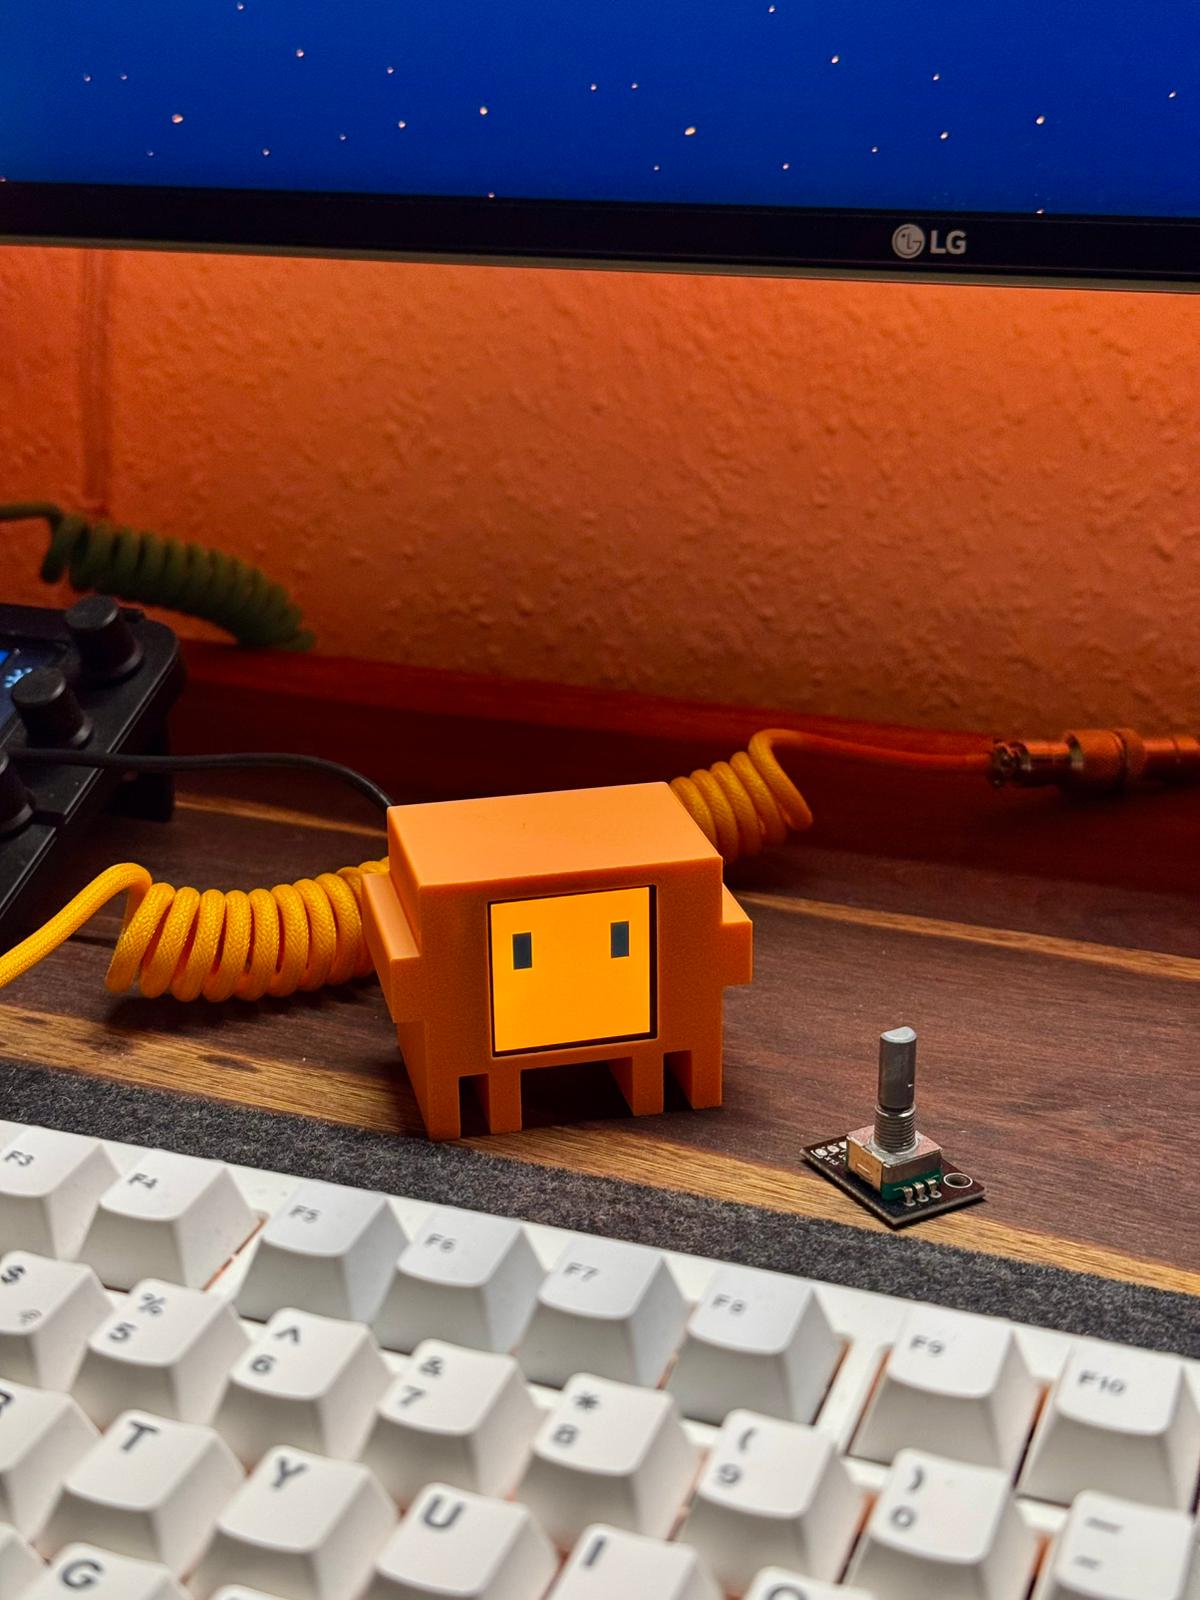
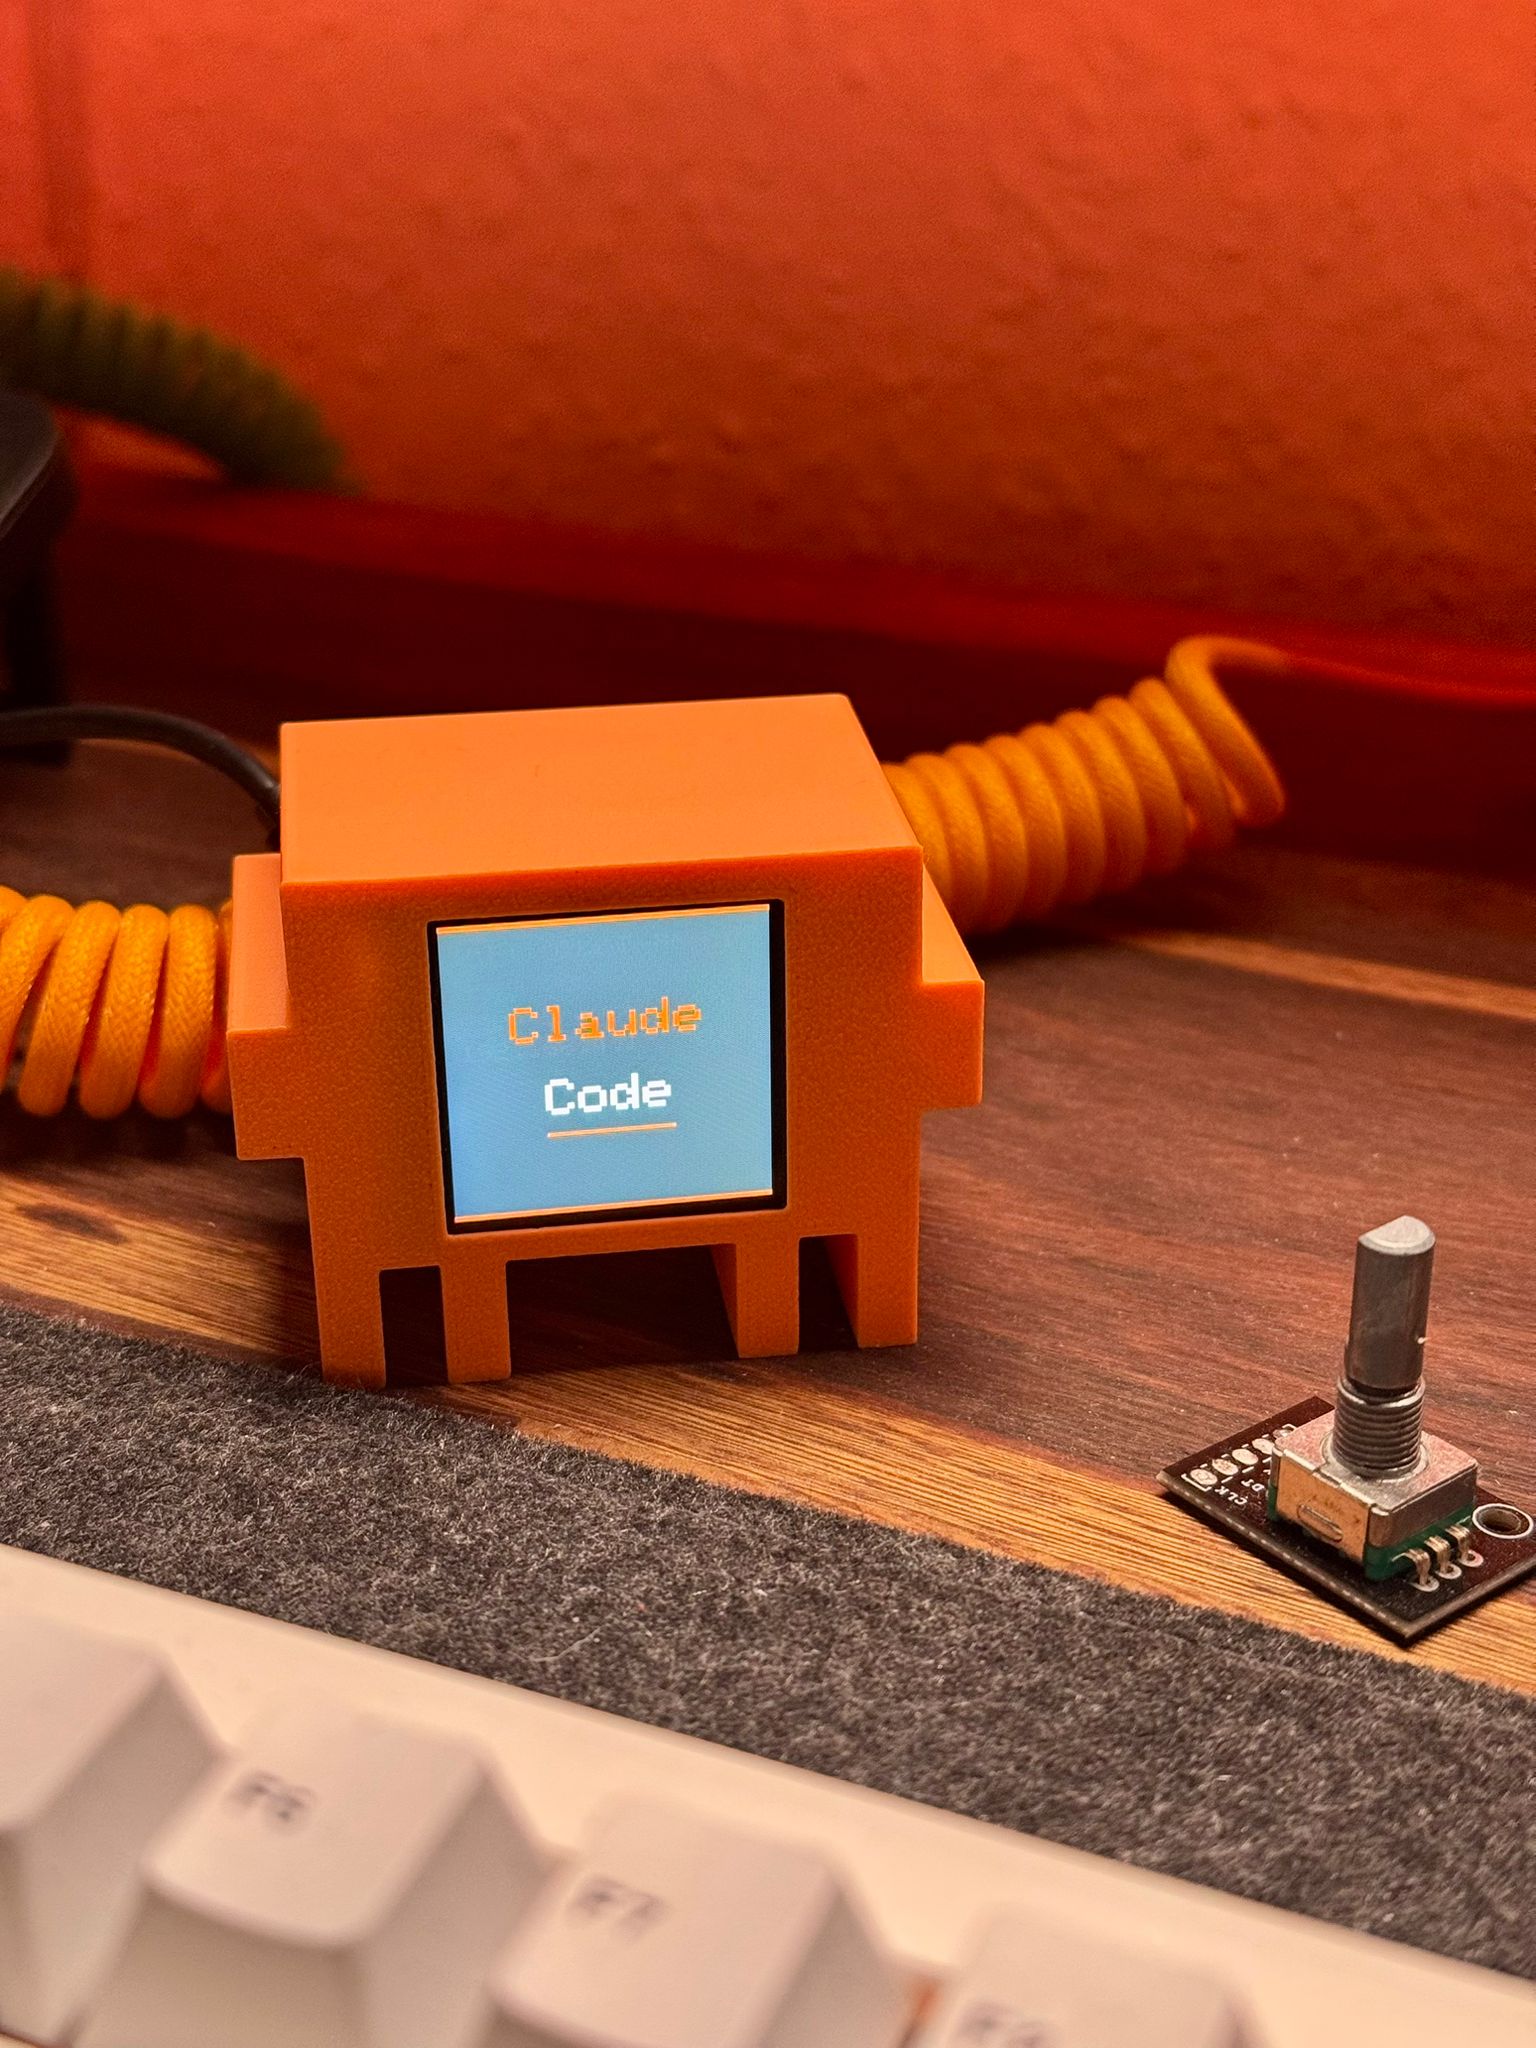
A small ESP32-C3 desk companion with animated faces, web controls and a published low-cost parts list.
Cheap, compact and easy to modify. It is a good example of AI-assisted embedded work becoming approachable without turning into a large electronics project.
The CAIBI build pack gives an AI assistant the source, the known constraints, the useful AI work and the physical boundary. It is designed to help you move faster without pretending the AI has built the thing for you.
I want to build Clawd Mochi. Source project: https://github.com/yousifamanuel/clawd-mochi Use the source as the authority. Do not invent parts, dimensions, prices or capabilities that are not published. AI can help with: Firmware changes, UI changes, Debugging. AI cannot physically do: Print and finish the enclosure, Wire the display to the ESP32-C3 correctly, Route and secure the electronics inside the case, Judge whether the finished object looks and feels tidy enough to keep on a desk. Tools and capabilities involved: 3D printer, ESP32. CAIBI's main concern: The concept is simple enough that finish quality matters. A rough print and untidy wiring quickly make it feel like a prototype. Start by checking the source, confirming the current parts and build instructions, then give me a staged plan. Clearly separate source facts from your suggestions. Stop and ask me to verify anything that depends on physical fit, wiring, calibration or safety.
Print the published case, then test-fit the display before fixing or soldering anything. The creator recommends 0.15 to 0.20mm layers, 15% gyroid and supports for the display overhang.
Connect the ST7789 display to the ESP32-C3 using the published GPIO mapping. The source explicitly requires 3.3V for VCC.
Install ESP32 board support and the Adafruit graphics libraries, then apply the board settings published by the project.
Upload the supplied sketch over USB-C. AI can help diagnose board, library or compile issues, but the source firmware already provides the baseline.
Route the wires, secure the display, fix the ESP32 to the back plate and close the case around the USB-C connection.
Join the device Wi-Fi hotspot, open its browser controller, then change animations, views, colours or code once the base build works.
Use the published source, files and instructions as the baseline.
↗AI ASSISTEDUse the CAIBI build packStart from the source with prompts that keep the AI inside the verified build information.
→OUTSOURCE PARTGet fabrication done for youYou do not necessarily need to own every capability. This build uses 3D printer, ESP32.
→ALTERNATIVE PROJECTImageGenCamA buildable Raspberry Pi camera designed around a Codex-assisted hardware and software workflow.
→When people submit completed builds, this section can link to their build notes, repo, printable files, shop or finished version. CAIBI does not take payment or insert itself into the sale.
Source available with detailed beginner build instructions
Cheap, compact and easy to modify. It is a good example of AI-assisted embedded work becoming approachable without turning into a large electronics project.
Actual time, cost, changes and outcomes from reviewed builds will appear here.
Add your build report ↓Your result can improve the assessment and, if you choose, link people to your public build or listing.