


RECENTLY CHECKED
All projects →
CAIBI ASSESSMENT

Watchy

CAIBI VERDICTBUILD FOR THE EXPERIENCE

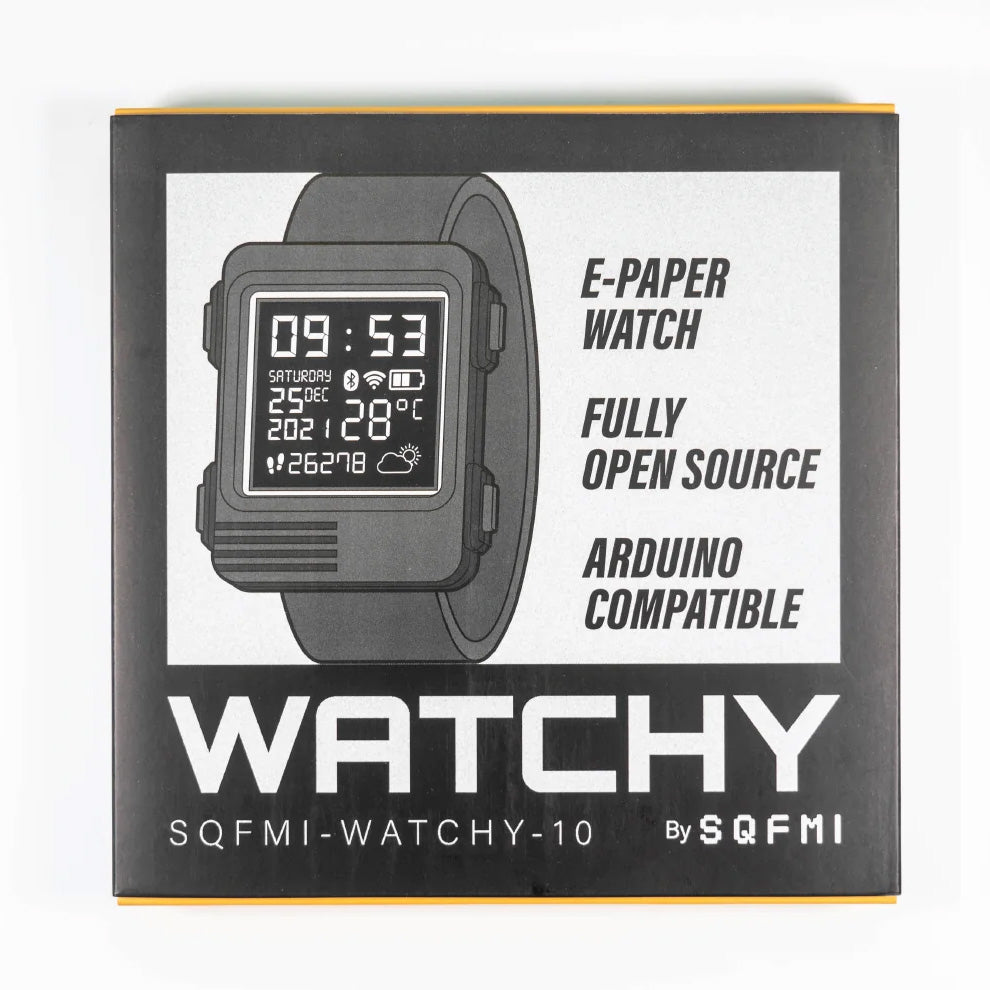
A fully open-source ESP32-S3 e-paper watch sold as a small assembly kit and designed to be reprogrammed, modified and recased.

Build or buy?

Compare the documented build with the purchase reference.

Build it yourself

Build estimate£45.49Source estimate · high confidenceOne Watchy kit
Time
~1 hour assembly and setup
Difficulty
2/5
Physical processes
ESP32-S3 · Arduino IDE
See build requirements →

Purchase reference

Buy price referencePrice not checkedNo priced alternative recorded

Check the source for the exact model, availability and what is included.

Check comparison evidence →
Purchase comparison not yet priced
What the prices cover

Checked regional kit prices already recorded in the assessment.

Includes: Watchy kit.

Not included: Shipping; Alternative straps/cases; Development computer.

Build evidence recorded 4 Sep 2026. Currency conversions are approximate.

The current regional kit prices are useful build costs, but comparing them with an ordinary smartwatch would ignore the open hardware and programmable purpose of the project.

BUILD AT A GLANCE

Source view and main parts

Check the source ↗
WatchyWatchy · SQFMI ↗
PHYSICAL BUILD7 key parts or groups
No.Source specification
01Watchy PCB v3 with ESP32-S3FN8
021.54 inch 200 x 200 e-paper display
033.7 V 200 mAh LiPo battery
04BMA423 three-axis accelerometer
05Vibration motor and four physical buttons
06Plastic enclosure and watch strap from the current kit
07USB data cable and computer with Arduino IDE for custom firmware
Full source specifications
  1. Watchy PCB v3 with ESP32-S3FN8
  2. 1.54 inch 200 x 200 e-paper display
  3. 3.7 V 200 mAh LiPo battery
  4. BMA423 three-axis accelerometer
  5. Vibration motor and four physical buttons
  6. Plastic enclosure and watch strap from the current kit
  7. USB data cable and computer with Arduino IDE for custom firmware
TOOLS / PROCESSES2 involved
  • ESP32-S3
  • Arduino IDE
The real-world workYOU STILL HAVE TOThe real-world work
  • Connect display and battery
  • Assemble case
  • Enter bootloader mode
  • Flash and verify firmware
  • Protect and wear the hardware
THE BUILD SEQUENCE

How it comes together

1Preparation

  1. Inspect and test the kit before enclosing it

    Check the PCB and parts for damage before assembly. The official guide specifically warns that the glass display can crack if bent and that the battery connector area should be handled carefully.

    YOU
  2. Connect the e-paper display

    Feed the ribbon through the PCB slot, unlock the small FPC connector, insert the cable with the contacts in the documented orientation and lock it again. Builder reports consistently identify this as the fiddliest physical step.

    YOU

2Build and assembly

  1. Connect the battery and prove the stock watch

    Connect the battery, charge over USB and confirm the menu, buttons and clock update before closing the enclosure. Do not force the case if the battery cable, buttons or display are misaligned.

    YOU
  2. Install the Watchy development environment

    Install current ESP32 support and the Watchy library in Arduino IDE, then select the ESP32-S3 settings documented for v3 hardware. AI can help diagnose dependency or serial-port issues but should not guess the hardware revision.

    AI + YOU

3Configure and test

  1. Enter bootloader mode and flash a known example

    Use the documented button sequence to expose the ESP32-S3 serial port, flash a stock example or watch face and reset the watch. Proving a known example separates toolchain problems from custom-code problems.

    AI + YOU
  2. Customise without destroying battery life

    Change watch faces, data sources, controls or features after the baseline is stable. Keep Wi-Fi, Bluetooth and wake frequency deliberate because the official battery guidance shows radio use can cut runtime substantially.

    AI + YOU

Benchmark this project

Use the Watchy prompt. Compare what different models deliver, then add what happened when you tried it.

Try this benchmark
View the project prompt

CAIBI adaptation · Prompt 1.0 · Project source

Open and copy prompt →

Benchmark results 0

No reviewed results yet for Watchy. Add the first result →

AI IN THIS PROJECT

Get AI help on this build

CAIBI · AI CAN HELP

AI can help with

  • Watch-face code
  • Firmware changes
  • ESP32 troubleshooting
  • Power-use optimisation
  • Custom feature planning
CAIBI · AI CAN'T DO

You still need to

  • Connect display and battery
  • Assemble case
  • Enter bootloader mode
  • Flash and verify firmware
  • Protect and wear the hardware
Original source AI use and prompts
SOURCEThe original project does not publish an AI prompt

The prompts below are CAIBI helpers for this build. They are not presented as instructions from the creator.

CAIBI STARTING PROMPTS

Copy a prompt for this build

Each prompt tells AI to keep the original project source as the reference and to flag anything you must verify on the real build.

Ways to take it further
AFTER THE FIRST BUILD

Ways to take it further

Custom watch facesAlternative firmware3D printed case using published STEP/STL modelsCNC aluminium caseCustom network dataDifferent wake schedules and power strategies
More routes and resources
OTHER WAYS TO GET THERE

You do not have to follow one route.

REVIEWED RESOURCES

Useful places beyond the main source

SOURCE · CAIBI · BUILDERS

What supports the verdict

SOURCESQFMI

Current Watchy documentation covers v3 hardware, assembly, Arduino setup, battery behaviour, replacement parts and open-source files. Independent builder reports corroborate the easy-but-fiddly assembly and the value of the platform for firmware experimentation.

Open source ↗
CAIBIBUILD FOR THE EXPERIENCE

The reason to choose Watchy is not to beat a mainstream smartwatch on features. It is to own an unusually open wearable platform whose hardware, firmware, watch faces and enclosure can all be changed.

Evidence: Strong

Leave a build review
HAVE YOU MADE THIS?

Leave a build review.

First-hand evidence improves the assessment
What we want to know

What happened when you actually tried to make it.

  • Did it work?
  • Actual time and cost
  • What did you change?
  • What was harder than the source suggested?
  • Would you build it again?