OpenFlexure Microscope
Science & measurementOriginal source ↗
CAIBI ASSESSMENT

OpenFlexure Microscope

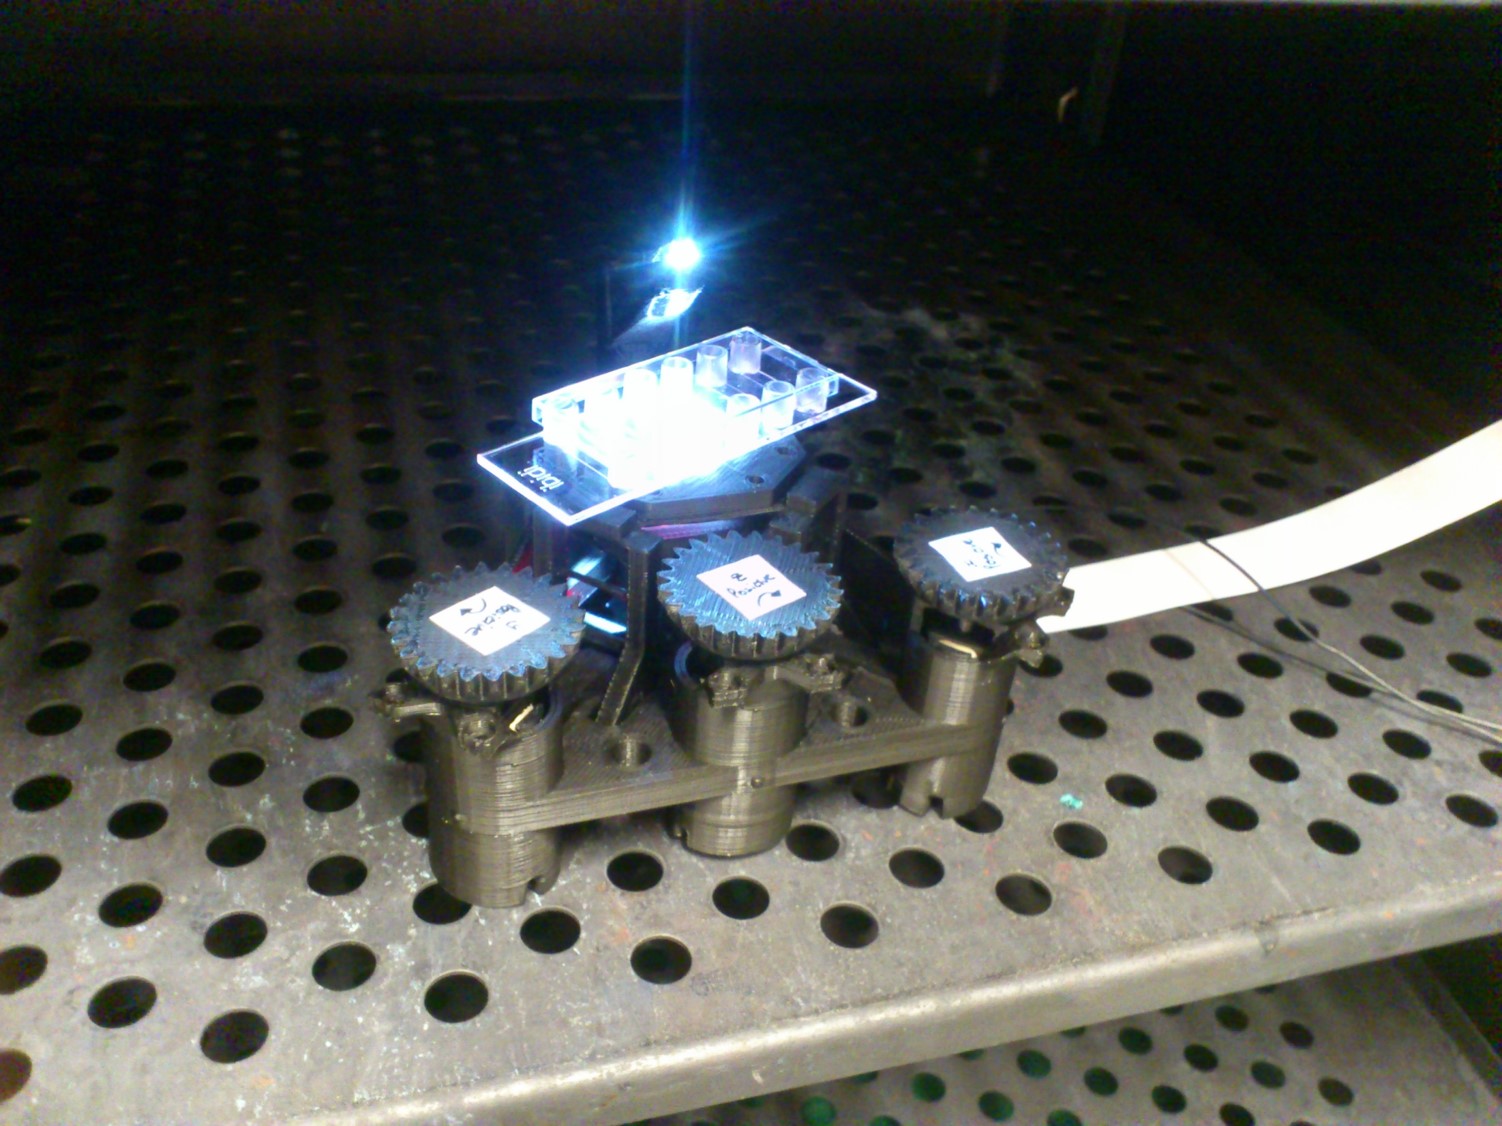
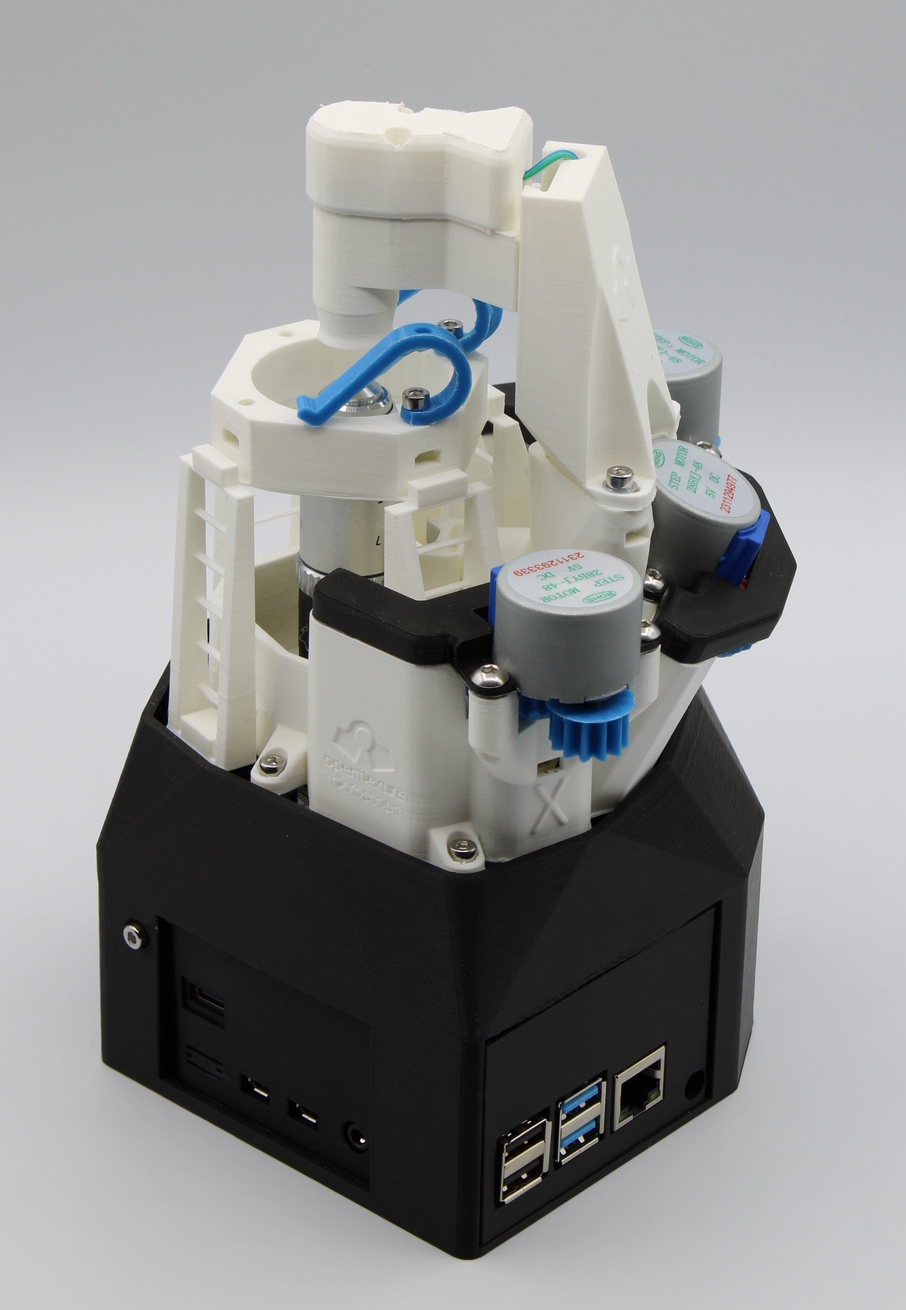
A 3D-printable microscope platform with precise flexure-based sample positioning and multiple optical configurations.

CAIBI VERDICTWORTH CONSIDERING

It provides a serious open instrument platform rather than a classroom toy, with the option to change mechanics, optics and automation.

AI CAN HELP

Useful work to hand to AI

  • Documentation search
  • Configuration help
  • Software changes
  • Troubleshooting
AI CAN'T DO

The physical boundary

  • Print the precision mechanical parts
  • Fit and align the optics
  • Assemble the flexure stage without introducing mechanical errors
  • Focus and calibrate the real microscope
  • Verify image quality and positioning repeatability for the intended use
BUILD WITH AI

Start with the project, not a blank prompt.

The CAIBI build pack gives an AI assistant the source, the known constraints, the useful AI work and the physical boundary. It is designed to help you move faster without pretending the AI has built the thing for you.

Preview the full build brief
I want to build OpenFlexure Microscope.

Source project: https://gitlab.com/openflexure/openflexure-microscope/

Use the source as the authority. Do not invent parts, dimensions, prices or capabilities that are not published.

AI can help with: Documentation search, Configuration help, Software changes, Troubleshooting.
AI cannot physically do: Print the precision mechanical parts, Fit and align the optics, Assemble the flexure stage without introducing mechanical errors, Focus and calibrate the real microscope, Verify image quality and positioning repeatability for the intended use.
Tools and capabilities involved: 3D printer, Optics.
CAIBI's main concern: Optics, calibration and precise assembly matter more than simply getting the printed parts to fit together.

Start by checking the source, confirming the current parts and build instructions, then give me a staged plan. Clearly separate source facts from your suggestions. Stop and ask me to verify anything that depends on physical fit, wiring, calibration or safety.
THE BUILD

How it actually comes together

Check the source ↗
01
YOU

Choose the microscope configuration

Decide whether you need the standard high-resolution motorised microscope, a manual build or another supported configuration before sourcing parts.

02
YOU

Use the current build documentation

The OpenFlexure project recommends v7 unless you have a specific reason to use v6. Use the matching bill of materials, STLs and instructions for the selected release.

03
YOU

Print the mechanical parts

Test the printer, then produce the body, stage and other printed parts. Mechanical accuracy affects the precision the flexure stage can deliver.

04
YOU

Assemble stage, optics and illumination

Build the actuators, optics module, illumination and sample handling in the documented sequence. This is precision assembly rather than simple enclosure fitting.

05
AI + YOU

Add motors and wiring if required

Motorised versions add motor assembly, wiring and software setup. AI can help navigate configuration and software, but cannot compensate for poor mechanical or optical alignment.

06
AI + YOU

Install software and calibrate

Bring up the imaging and control software, verify motion and focus, then validate image quality and repeatability for the intended use.

WHAT YOU NEED

Key components

  • 3D printed microscope body and flexure stage parts
  • Optics module and microscope objective or supported camera optics
  • Illumination LED and mounting hardware
  • Actuator hardware for the translation stage
  • Optional motors and control electronics for motorised configurations
  • Camera and Raspberry Pi or other supported imaging setup depending on configuration

AFTER THE FIRST BUILD

Ways to take it further

High-resolution motorised microscopeManual microscopeLow-cost microscopeUpright microscopeAlternative optics modulesApplication-specific customisations
OTHER WAYS TO GET THERE

You do not have to follow one route.

MADE BY PEOPLE

Real builds belong here.

No reviewed builder listings yet

When people submit completed builds, this section can link to their build notes, repo, printable files, shop or finished version. CAIBI does not take payment or insert itself into the sale.

Add your build or listing
SOURCE · CAIBI · BUILDERS

What supports the verdict

SOURCEOpenFlexure

Official build documentation available, with v7 recommended in beta

  • The official project describes the OpenFlexure Microscope as a 3D printable microscope with precise mechanical positioning.
  • The current build page recommends v7 unless there is a specific reason to prefer v6, while noting that v7 is still beta.
  • The high-resolution configuration is described as a motorised laboratory-grade microscope using standard RMS threaded objectives.
  • The build documentation provides separate routes for high-resolution, low-cost, upright and manual configurations.
Open source ↗
CAIBIWORTH CONSIDERING

It provides a serious open instrument platform rather than a classroom toy, with the option to change mechanics, optics and automation.

Evidence
Strong
Biggest challenge
Optics, calibration and precise assembly matter more than simply getting the printed parts to fit together.
BUILDERSNo published reports yet

Actual time, cost, changes and outcomes from reviewed builds will appear here.

Add your build report ↓
BUILT IT?

Tell us what actually happened.

Your result can improve the assessment and, if you choose, link people to your public build or listing.

  • What worked and what changed
  • Actual time and cost
  • Public build or repo link
  • Optional maker or sales listing